|
Hopeless Angel Burning Scene
Hi Friends
I have a very interesting tutorial that is hopeless angel burning scene in photoshop and so excited to share with you, I applied a simple technique and tried to create it in less step these are mention in this example. It is done by used Brush tool, layer's blend mode and filters and sure It will sharp your knowledge. It is a excellent photo manipulating work and hope you like and enjoy, follow this example and draw yourself.
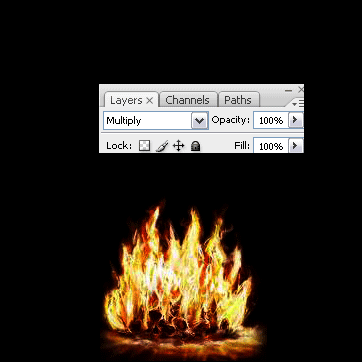
Take a new document with black background and adjust the document size as you need, download a fire picture and insert on the document then make duplicate layer by pressing (Ctrl + J) and change the blend mode "Normal' to "Multiply".
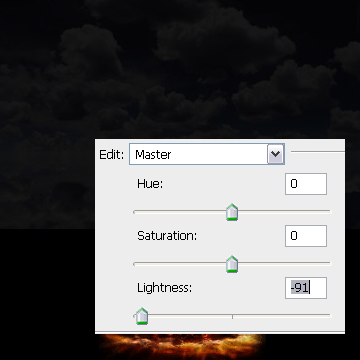
Now download a sky picture and insert in the new layer and follow this path (Image menu > Adjustment > Hue/Saturation), A window appear on the screen and put right value as done below picture.
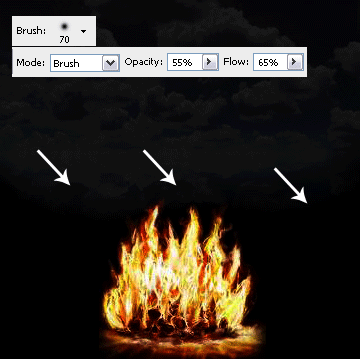
In this step I have to erase bottom part of the sky picture so select Eraser Tool (E key) and make setting in the option bar, Apply bottom part of the sky picture as showing by White arrow.
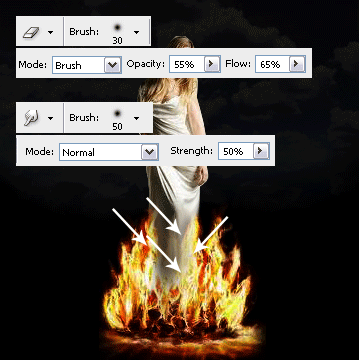
Now insert a beautiful girl picture and adjust the position as half leg portion should be on the fire. Select Smudge Tool (R key) and make settings in the option bar then apply on the let. Select Eraser Tool (E key) and make settings in the option bar then apply on the leg portion as showing by White arrow.
In this step I have apply a fire effect on whole body, make duplicate layer by pressing (Ctrl + J) of the girl then change the blend mode "Normal" to "Overlay". The picture should be look like here.
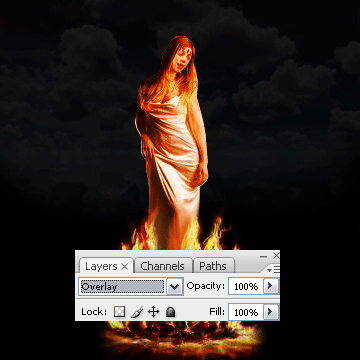
Now I am going to apply wing to make girl as angel, copy paste wing picture and adjust the position by pressing (Ctrl +T). Follow this path (Image menu > Adjustment > Hue/Saturation) and make setting.
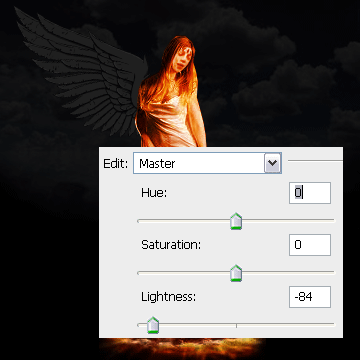
Still selected wing layer hold Ctrl and mouse click on the layer thumb to make selection then take a new layer, select Brush Tool (B key) and make settings in the option bar. Choose "#7d3411" foreground color and apply inside the selection on the new layer then change the blending mode "Normal" to "Color Dodge".
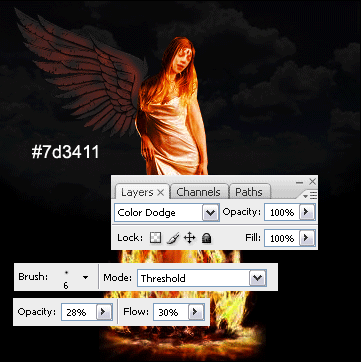
Take a new layer again and apply brush tool with same settings as applied upper step but make sure the brush color should be change "#7d3411" to "#c1a10b".
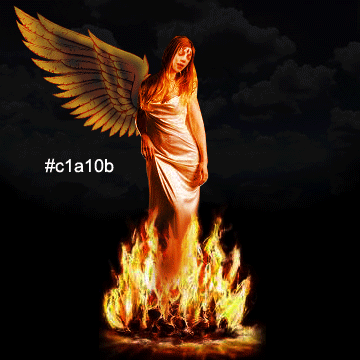
Now make them group and make duplicate wing then right click and choose "Flip Horizontal", adjust the position of wing as second wing.
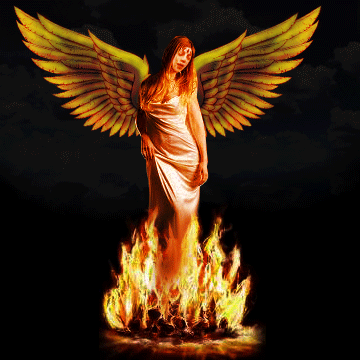
Select White foreground color and make some white spot on the new layer with same brush settings, follow this path (Filter menu > Noise > Add Noise) and make settings then apply fiber effect by following this path (Filter menu > Render > Fibers) and make settings as done below.
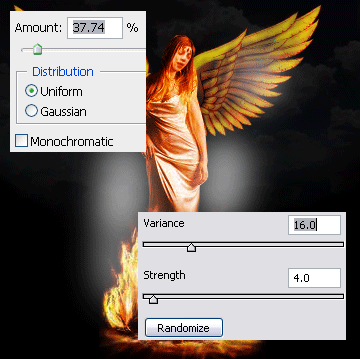
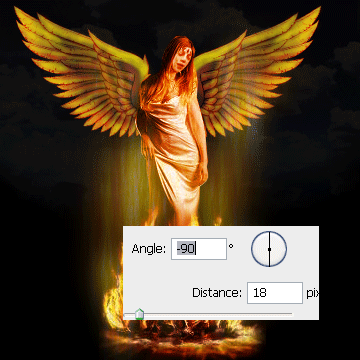
In this step I am going to apply motion blur, follow this path (Filter menu > Blur > Motion Blur). A window appears on the screen and makes settings as here.
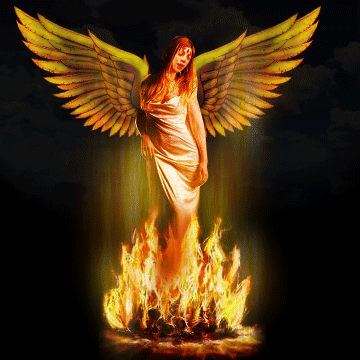
This is the final result.
Santosh Kumar
This is santosh kumar living in New Delhi (India) and love to work as a Web & Graphic Designing. I like to create sketch, background, illustration and vector graphics. Tutorialbunch.com is a very good place where I express my creativity.
|