|
Moon Night Scene
In this example, you are going to learn how to create moon night scene photo manipulation in photoshop, after learn this example you would be able to convert any scene to moon night. You can make it by using different color adjustment, brush style and layer style.
First select a picture to apply this mode; I have selected a sea picture. If you have color full picture make that black & White by click (Ctrl + Shift +U) key then apply curves (Ctrl + M).
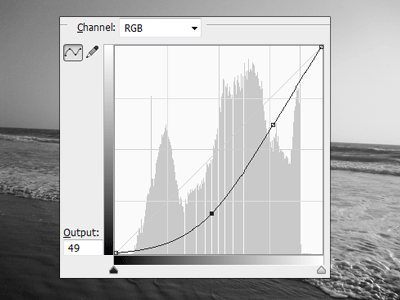
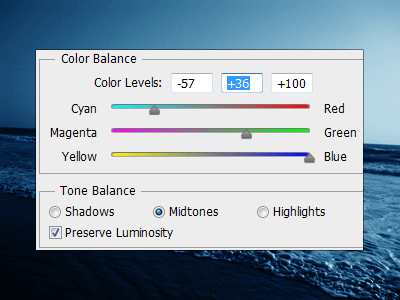
Now apply color adjustment of whole picture, go to Image menu > Adjustment > Color Balance. Put right values in the color Levels.
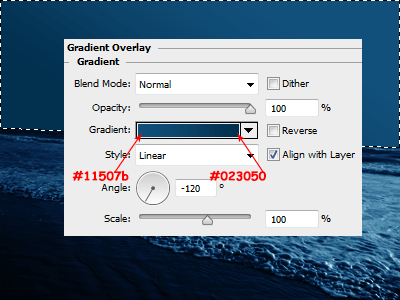
Select Pen Tool (P key) and make selection of the sky area to apply different mode, take a new layer and fill any color. Go to Layer menu > Layer Style > Gradient Overlay and apply different color on the slider with another settings.
Let's apply stars on the sky to make complete night mode, select brush tool (B key) press F5. Brush Presets will appear and you have to choose star brush and make another setting.
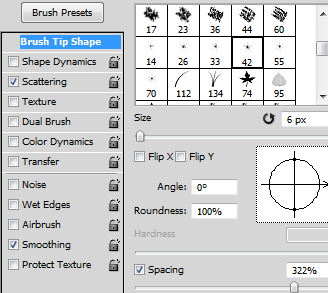
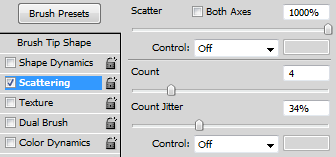
Take a new layer and apply stars on the sky with size "20", change layer blend mode "Normal" to "Soft Light".
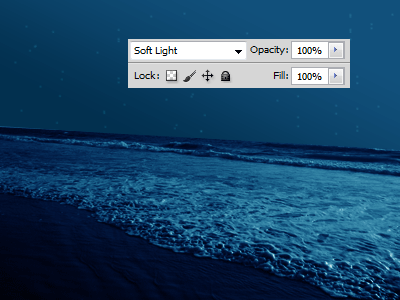
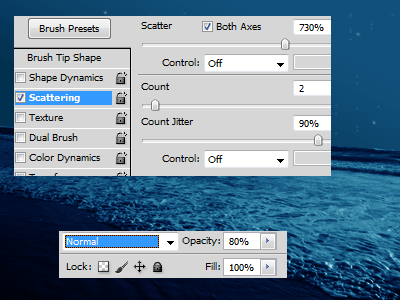
Make different brush setting and apply on with reduce opacity "100%" to "80%".
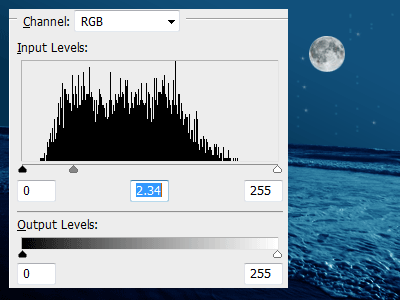
Insert a moon and put on the right top on the sky, if your moon picture is not sharp and lighted. Apply Level of the color, go to Image menu > Adjustment > Level and adjust the level.
If you moon is not match with your background, apply color on the moon. Go to Layer menu > Layer Style > Color Overlay, choose different color and change the blend mode.
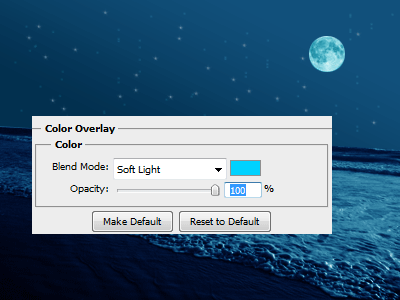
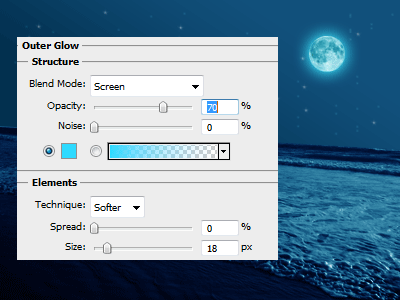
Make outer light of the moon, go to Layer menu > Layer Style > Outer Glow. Choose color, change blend mode and reduce opacity.
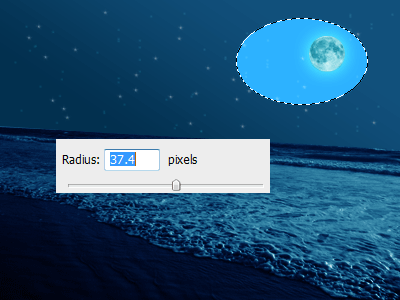
In the final step, you have to make a moon light spot in the sky. Draw an oval shape by make oval selection and fill "#2db2ff" color on new layer. Apply blur filter, go to Filter menu > Blur > Gaussian Blur.
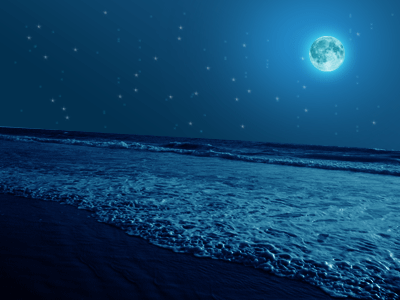
This is the final result.
Santosh Kumar
This is santosh kumar living in New Delhi (India) and love to work as a Web & Graphic Designing. I like to create sketch, background, illustration and vector graphics. Tutorialbunch.com is a very good place where I express my creativity.
|