|
Steel Tap
Hi
This tutorial has unique steps and these are really help you to create a look of
realistic steel water tap graphic in photoshop for your project. You have to follow all the steps with carefully
because if you miss any one, you can't reach to final result so start learning
and enjoy.
Starting this tutorial with a new document and set size as required for your project,
select Gradient tool (G key) and select two color in the property of the tool
then apply on the document as done below.

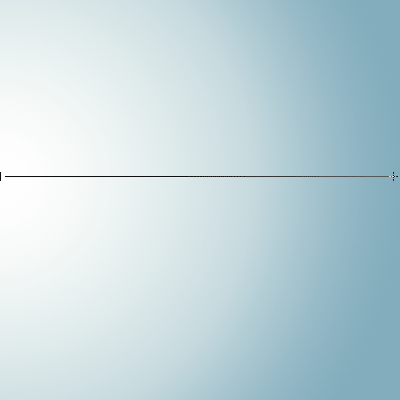
Select Ellipse tool (U key) and draw three circle shape with different
"#818588", "#3e3c3f", "#818588". select Burn Tool
(O key) and make settings " Brush='8', Range='Midtones', Exposure='50%'
" then apply on the middle circle as given below pictures.

Select Burn Tool (O key) and change Exposure
"100%" to "50%" on the optional bar then apply inside the
circle as done here.

Now draw a tap shape with the Pen tool (P key) with selected "#cdcbcb"
color and select Burn tool (O key) with same settings as done upper step then
apply on.
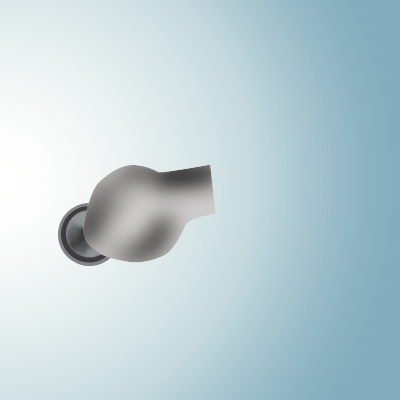
Select smudge tool (R key) and make settings " Brush='20',
Mode='Normal', Strength='38%' " and apply on the shape as done below
picture.
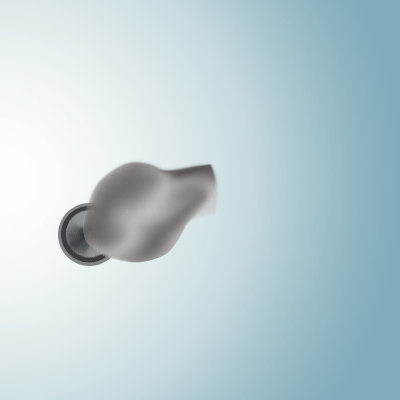
Select Pen tool (P key) with selected "#928f91" and draw tap pipe
shape then apply Burn tool (O key) and Smudge tool (R key).
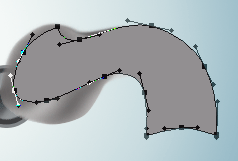
The picture should be same as here.
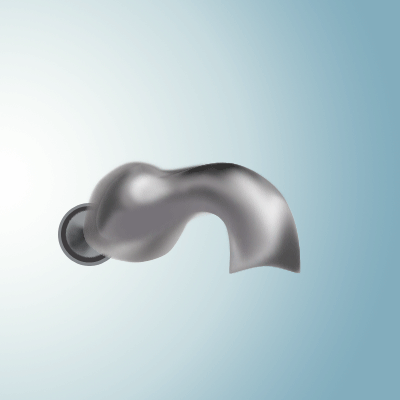
Make duplicate layer and change the blending mode of the layer
"Normal" to "Vivid Light" and adjust the opacity
"100%" to "70%". The should be like this.
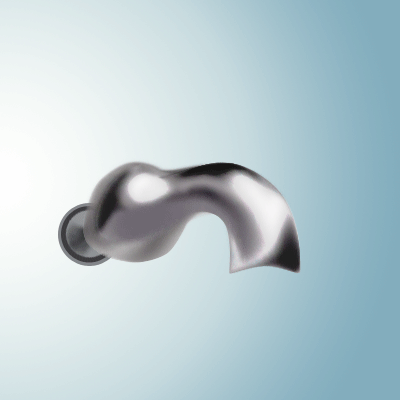
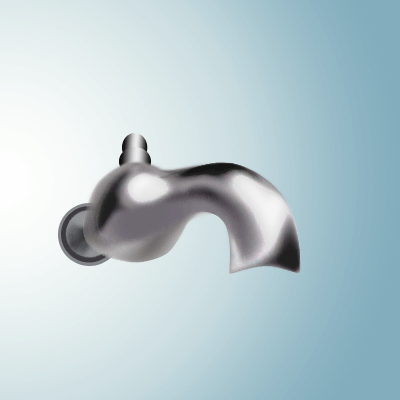
Select Ellipse tool (U key) and draw two shape with gradient color on different
size then set them like this.
Now draw handle of the tap, select Pen tool (P key) with selected "#928f91"
then apply Burn tool (O key) and Smudge tool (R key) with same settings as done
upper step.
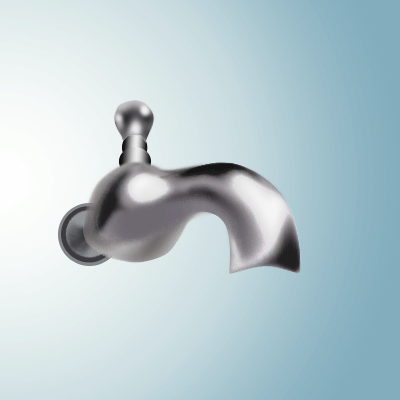
Use same step to draw four more shape as done below.
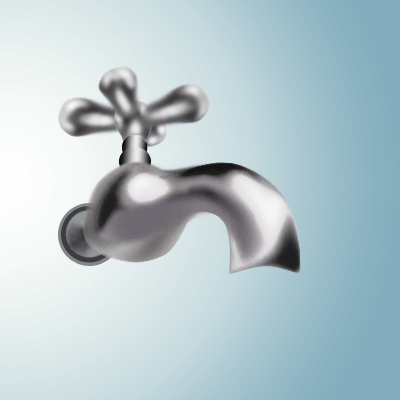
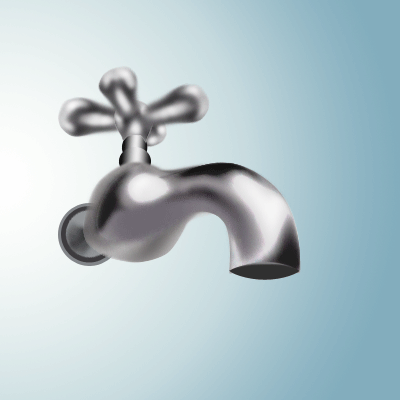
Now select Ellipse tool (U key) with selected "Black" color and
draw on the tap face that is final result as below.
Santosh Kumar
This is santosh kumar living in New Delhi (India) and love to work as a Web & Graphic Designing. I like to create sketch, background, illustration and vector graphics. Tutorialbunch.com is a very good place where I express my creativity.
|