|
Smoke Effect in Photoshop
In this tutorial you will learn how to creating smoke fumes effect in photoshop, you can use this effect on cigar, smoking pipe, background and more. It can be applied on any photo and document. I have used some filter and style, you will realy enjoy.
Open a new document and take a new layer, fill white color, set foreground and
background color Black and White. Apply cloud filter by go (Filter menu > Render > Clouds.
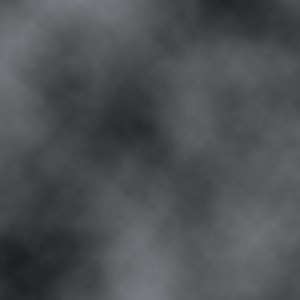
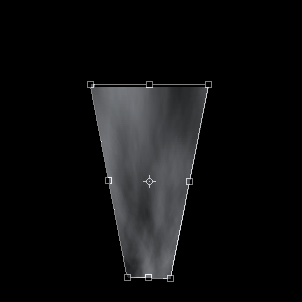
Now press Ctrl + T key and make it transform by the help of the mouse, make
sure the transform should be look like below picture otherwise you can't reach
on the final result.
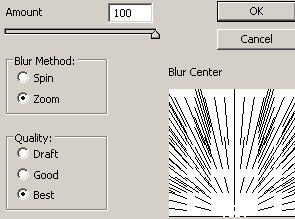
In this step you have to apply radial blur, go Filter menu
> Blur > Radial Blur. Click on the "Blur Center" and pull down, select right option and increase amount.
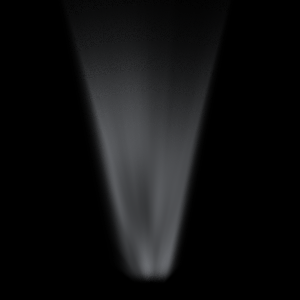
You get this picture.
Still selected smoke you have to make it just like wave so you need wave
filter, go Filter menu > Distort > Wave and adjust same every settings.
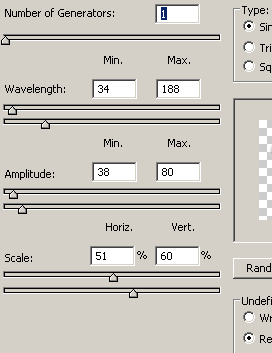
The wave smoke looks like this.
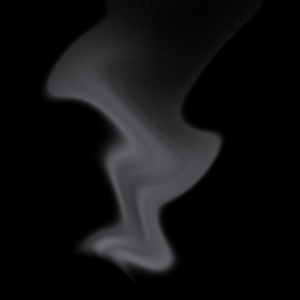
Make duplicate wave layer and change the blending mode "Normal" to
"Overlay" in the layer palette to make more real fume.

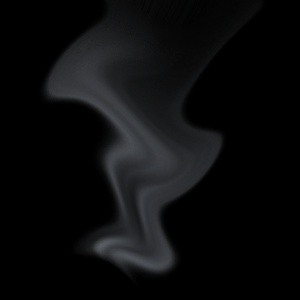
This is the final result.
Santosh Kumar
This is santosh kumar living in New Delhi (India) and love to work as a Web & Graphic Designing. I like to create sketch, background, illustration and vector graphics. Tutorialbunch.com is a very good place where I express my creativity.
|