|
Turn day into Night Scene
It is a fun to turning a day into night scene, it is very interesting and good way to change the mode of the picture scene. But it is very important to to have in your mind, it should be the lighted picture to get a batter and realitic day to night effect.
We are going to transform a bright photo, sunny light day into a realistic night scene effect through this Photoshop cs6 tutorial, we focus on creativity, adjust the light effect, filter effect and layer style. These are the technique that we will use to make this night photo effect.
Select Day Light Picture
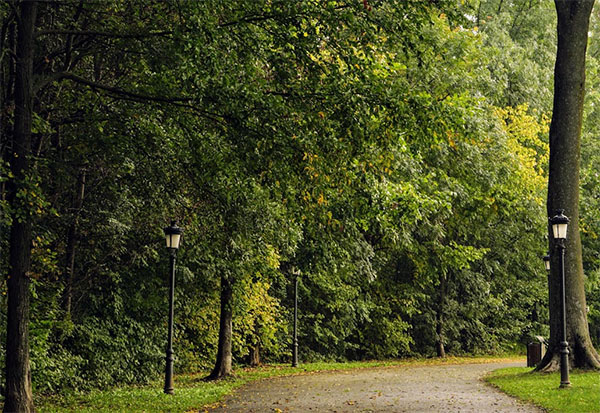
In the first step insert any day light picture to apply night mode effect but make sure the picture should be lighted as a perfect day scene.
I have taken this garden picture convert night scene mode, it has been download from "https://pexels.com", you can also follow this site for you perfect picture.
Apply Darkness on the Daylight Picture
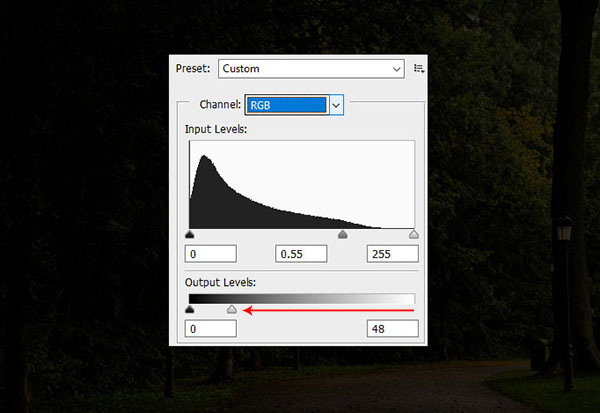
In this step we have to reduce the lighting of the picture so First going to modify Level of the picture color.
Go to Image Menu > Adjustment and select 'Level', there are many parameter to set on different demand but we will change the 'Output Levels' as showing by red arrow in the below picture.
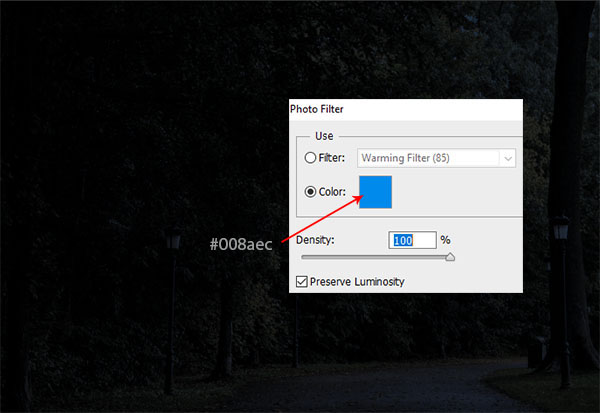
Now the lighting is totally off so it is time to apply a moonlight effect on the picture. There are some different options in the Photoshop for this moon night effect but we will use the 'Photo Filter'.
Go to Image menu > Adjustment and select 'Photo Filter', there are given pre defined filter that performs different color effect. We need a moon night effect so apply "#008aec" color then increase density "100%".
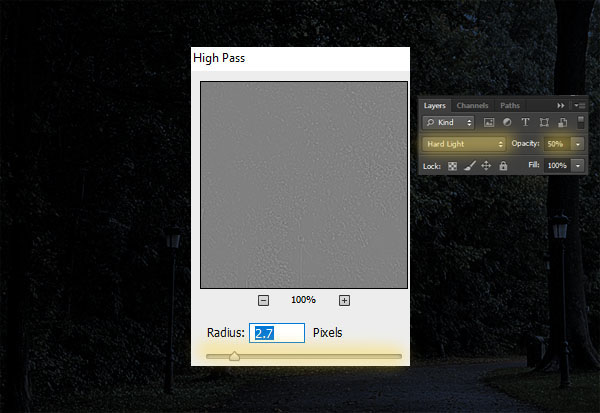
The night photo scene is almost completed and one more step is left. It is a garden picture and there are so many leaves. So if we apply sharpness on the picture, it would be more realistic moon night photo effect.
Go to Filter Menu > Other and select "High pass", adjust the "Radius" as you want to apply how much sharpness. I have applied "2.7" and then changed the blending mode of the layer "Hard Light" and reduce the opacity "50%".
Apply Lighting Effect on the Picture
The night scene is completed and it is time to apply lighting effect on some part of the picture to look realistic night scene, there are some light pole in the garden and going to apply light on.
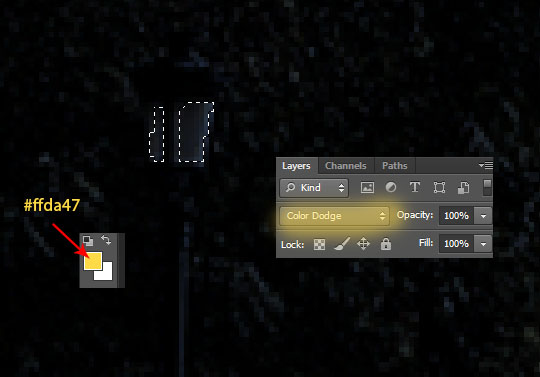
Choose any selection tool to select all the lamp in the garden, I have done it by used Magic Wand Tool (w key), take a new layer and fill "#ffda47" foreground color by Paint bucket tool then changed blending mode "Color Dodge".
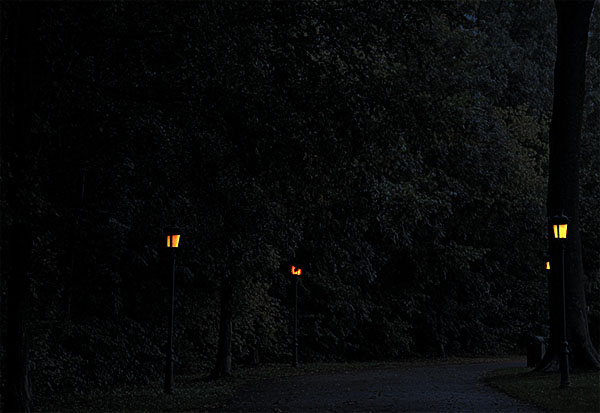
All the lamp are lighted now naturally but there is a need to apply more effort for making realistic night scene effect.
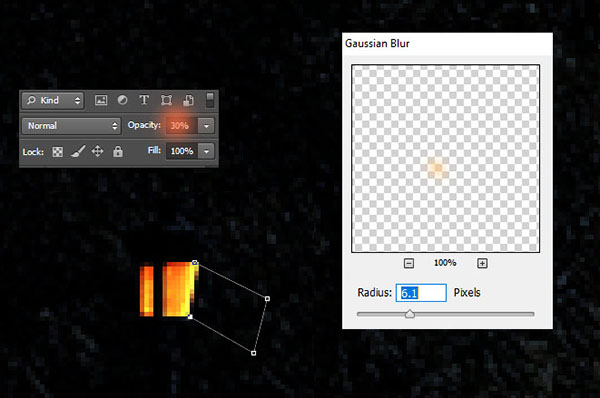
The lamp is lighting and wants to apply light focus around the lamp. Select Pen Tool (P) key and create a selection around the lamp as given below picture.
Take a new layer and fill "#ffda47" color inside the selection by using Paint Bucket Tool (G) key. Go to Filter Menu > Blur > Gaussian Blur and change the radius "6.1" then reduce the opacity "30%".
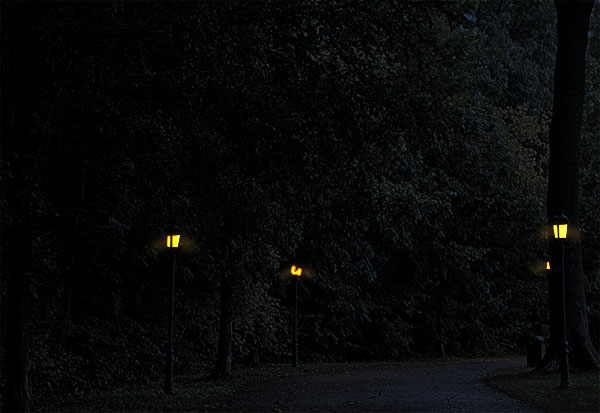
All these setting will help to show light focus around the lamp, now it is time to apply opposite side of the lamp. Copy the light focus and paste on another lamp with different size as required.
You should have this result.
Create Light Spot Around the Lamp
It is time to apply final touch to the picture and it will be completed, we will try to create light spot of the lamp on the ground.
First come to your original picture layer (Lighted picture as you inserted) and make duplicate by pressing Ctrl + J key then put it on the lamp's focus layer.
Click on the "Add Vector Mask" and black color by pressing Ctrl + Backspace as showing red color, select Brush Tool (B) key then adjust the brush settings as showing by green color.
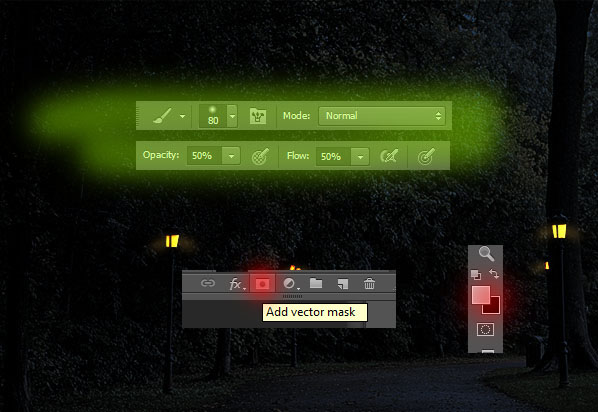
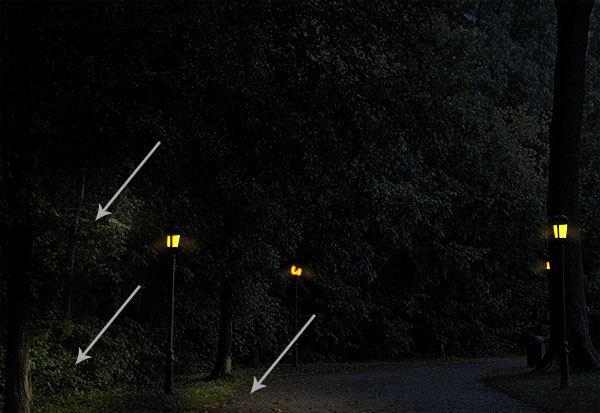
The brush is set to apply, in this step we have to identify a right place on the ground where the light should be focus. It is very important and main part of the whole tutorial, it will give the realistic effect.
Come to light pole and apply brush top and bottom carefully with different brush size around the pole, apply this step on other light pole also.
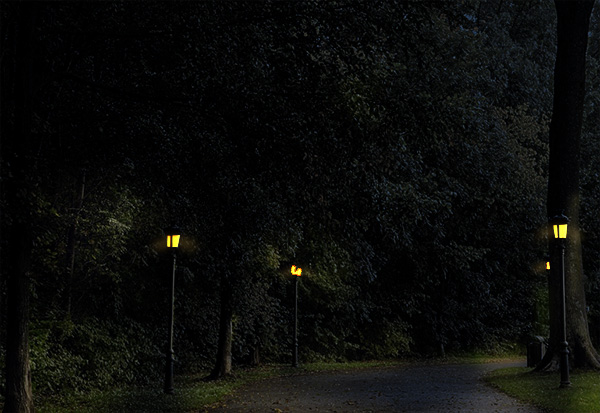
Apply these steps around another light pole, your turn day into night scene effect in photoshop is completed.
Enjoy !
Santosh Kumar
This is santosh kumar living in New Delhi (India) and love to work as a Web & Graphic Designing. I like to create sketch, background, illustration and vector graphics. Tutorialbunch.com is a very good place where I express my creativity.
|