|
Law Web Header
In this tutorial we are going to teach you how to create a law header navigation bar in photoshop cs6, I have made it by using some picture like wave effect, hammer and written paper with pen. You should have these type images before start it. If you want to use different picture, you can.
First take a new document with your decided header size, choose right color theme, I have selected "#a68216" color because the Magistrate Sit on the furniture table in the court. You can apply different as you like.

Insert law hammer picture on the background right side, it can not be used exact. I select Gradient Tool (G key) and modify the gradient color, click on "Add layer mask" on layer and apply vertically. Change the layer's blend mode "Normal" to "Luminosity" and opacity "100%" to "70%".
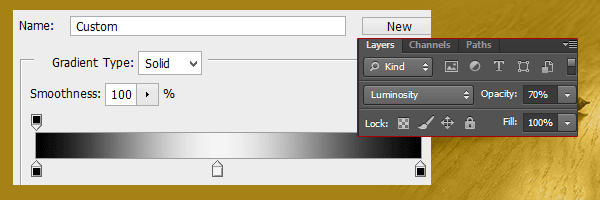
Now Insert written paper picture in middle of background, select Gradient tool again and click on the "Add layer mask". Apply gradient tool on the picture horizontally and apply layer settings as done above picture.

Take a new document with transparent background, select Rectangle Tool (U key) and draw two lines on 1px with distance of 1px each other. Go to Edit menu > Define Pattern and give name in the pop up window.
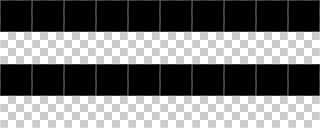
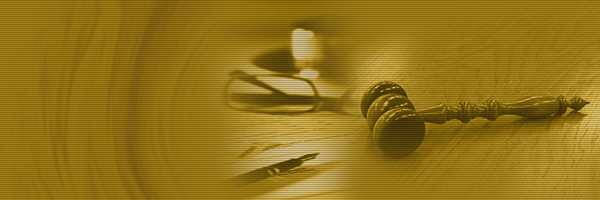
Come to your main document and take a new layer, go to Edit menu and select "Fill" select you defined pattern in the opened window. Change the layer's opacity "100%" to "20%". Insert wave effect on and change the layer opacity "20%".
Now you have make a space for branding logo and name, draw a rectangle shape with "White" color and change the layer opacity "35%". Select Horizontal Type Tool (T key) and make formatting as your banding text then type on the rectangle shape with white color.
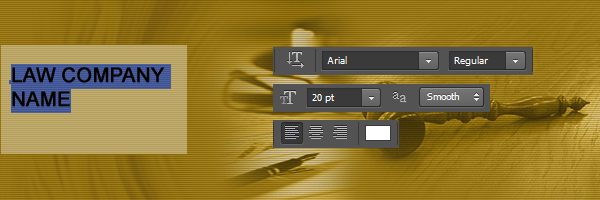
Type company slogan and get the final result.

Santosh Kumar
This is santosh kumar living in New Delhi (India) and love to work as a Web & Graphic Designing. I like to create sketch, background, illustration and vector graphics. Tutorialbunch.com is a very good place where I express my creativity.
|