|
Remove Blemishes and Acne on Face
Hi
It is very interesting example because I am going to modification in the picture,
you have a chance to learn how to remove blemishes and acne in photoshop. I have
described the technique by some steps those are given in this example, follow
them and enjoy.
I have selected a cheek face and there are some acne on. I am going to remove
the acne, this picture has been taken for the the learning purpose.
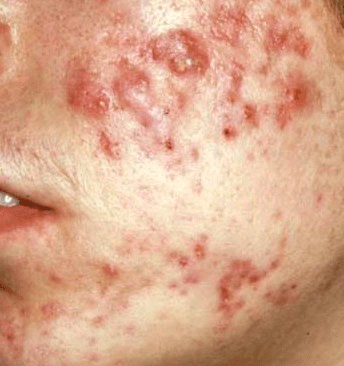
Choose Spot Healing Brush Tool (J key) and increase size "50" then
click anywhere on the clean cheek area with hold Alt key and apply on the acne
as the arrow showing below picture.

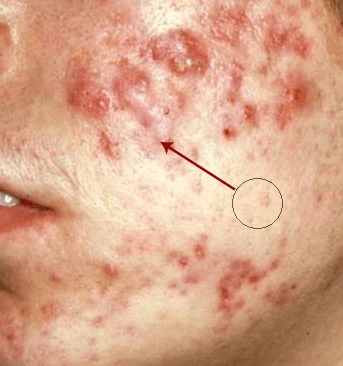
You should done your job until this picture.
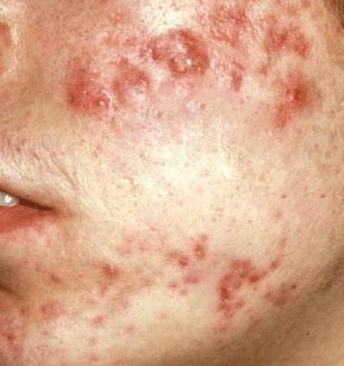
Now click again on the clean cheek area and apply upper acne as showing the
arrow.
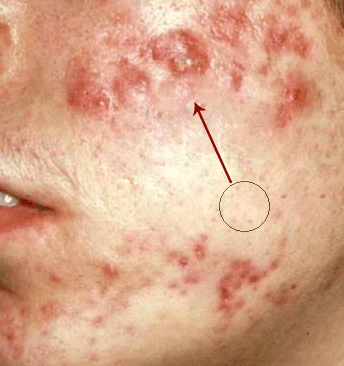
After clean upper acne, it is time to clean below acne so apply same step to
remove them as done up.
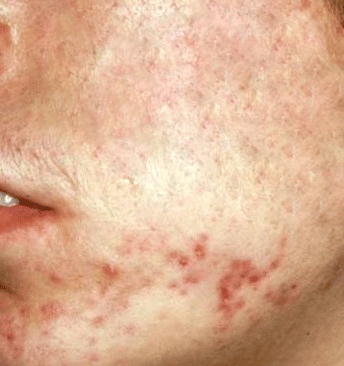
This is the remove completely acne from the cheek, now select Smudge Tool (R
key) and make adjustment then apply on the whole cheek to make it clean more.

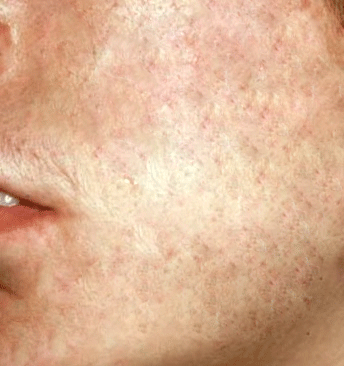
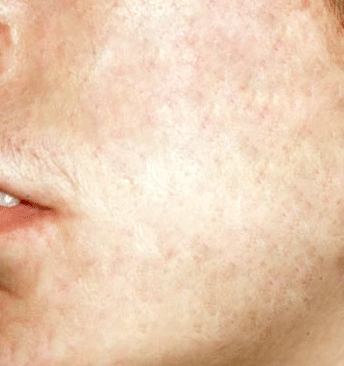
Finally give light on, make duplicate layer and change the blending mode
"Normal" to "Screen" that will be the final result as done
here.
Santosh Kumar
This is santosh kumar living in New Delhi (India) and love to work as a Web & Graphic Designing. I like to create sketch, background, illustration and vector graphics. Tutorialbunch.com is a very good place where I express my creativity.
|