|
Wooden Smoking Pipe
Today, I am going to teach you a simple and easy way to create wooden smoking pipe in photoshop. I will take help of pen tool, burn tool, filter and done hard work to give real look.
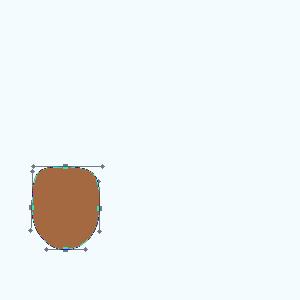
Start with a new document with any color and size, select Ellipse Tool and draw an oval shape. Select Direct Selection Tool (A key) and click on the top anchor point and pull down by the down arrow, do it also on the left and right anchor points.
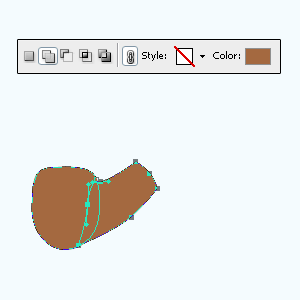
Select Pen tool and click on the "Add Shape Area" in the option bar, come to document and make another shape on the bowl of pipe.
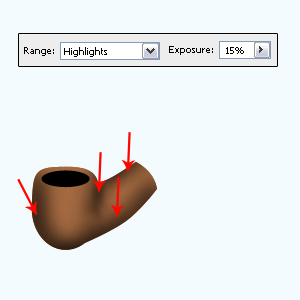
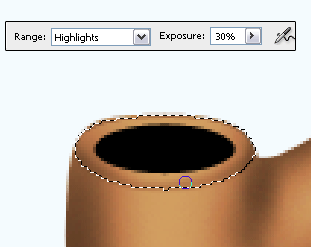
Choose Burn Tool (O key) and make settings in the optional bar on the top, apply carefully on the wood pipe area as showing by the Red arrows.
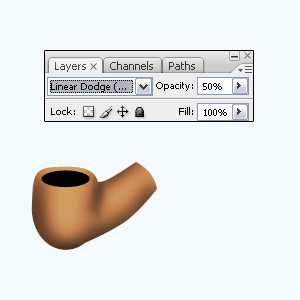
Now make duplicate layer by pressing Ctrl + J key and change the blend mode "Normal" to "Linear Dodge(Add)" and reduce the opacity "50%".
Select Elliptical Marquee Tool (M key) and draw a circle selection on the bowl, apply Burn Tool (O key) inside the selection with different setting. Select Ellipse Tool (U key) and draw an oval shape on the top of bowl with black color.
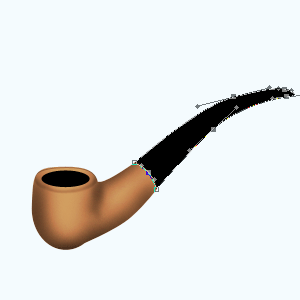
Now I have to draw black pipe, select Pen Tool (P key) and draw a pipe shape with black color. The pipe is completed but I think it needs light to look like realistic.
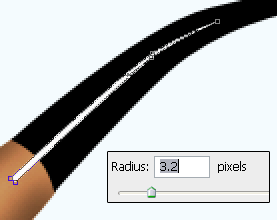
Select Pen Tool (P key) and draw a line shape with white color on the pipe, right click on the layer and choose "Rasterize Layer", go to Filter menu > Blur> Gaussian blur and set radius "3.2".
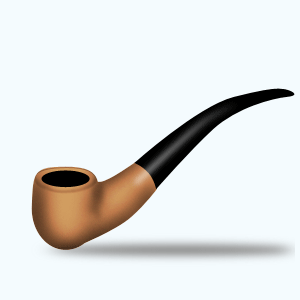
Apply shadow that is final result.
Santosh Kumar
This is santosh kumar living in New Delhi (India) and love to work as a Web & Graphic Designing. I like to create sketch, background, illustration and vector graphics. Tutorialbunch.com is a very good place where I express my creativity.
|