|
Satin Picture Effect
This is a satin picture effect tutorial in the Photoshop. If you have any snap and you want to create satin effect on, get ready this example will help you. I have selected a laughing boy picture to apply this effect by using filter and tool.
Open a new document with any size. Select Gradient Tool
(G key) and choose gradient color, change mode, opacity.

Take a new layer and apply gradient tool six times on the document as given
direction by the red arrow.

You get it.

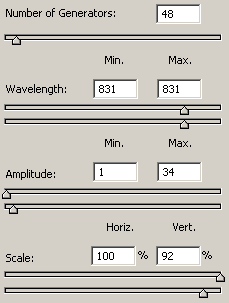
Now apply wave effect on the whole picture, go Filter
menu > Distort > Wave and make adjustment all the settings.

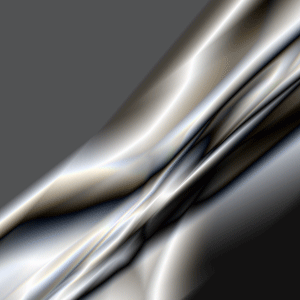
You get it.

Now apply any color as you like on the satin effect, I am going to apply
"#67899e" color. Take a new layer and fill color by Paint Bucket Tool
(G key) then change the blending mode.

The final satin effect is completed.

You can apply this satin effect on the picture also, change the satin effect
layer's blending mode "Normal" to "Soft Light" and
make duplicate layer by pressing Ctrl + J key. Insert any picture under the satin
effect layers.

Santosh Kumar
This is santosh kumar living in New Delhi (India) and love to work as a Web & Graphic Designing. I like to create sketch, background, illustration and vector graphics. Tutorialbunch.com is a very good place where I express my creativity.
|