|
Engulfing Flames Effect
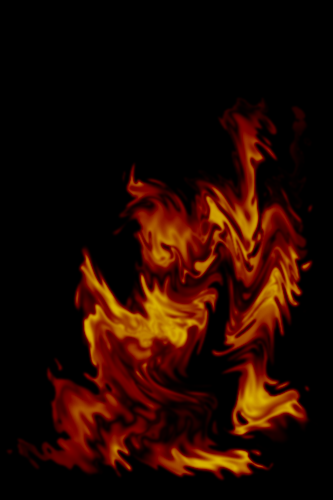
This tutorial will explain you how to create an engulfing flames effect in photoshop on any document, it can be used in the banner ads. I an using a different and easy way to create and share with you.
Start with a new document and set size, fill
Black color by Paint Bucket Tool (G key), select Pen Tool (P key) and make
settings on the option bar.

Take a new layer and click any where on the document to start the path
selection, draw a path and click on the start point to finish the area selection.
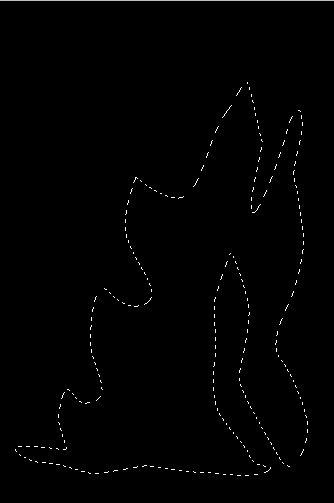
Now select Gradient Tool (G key) and make settings color, mode and opacity,
apply many times in the selection.

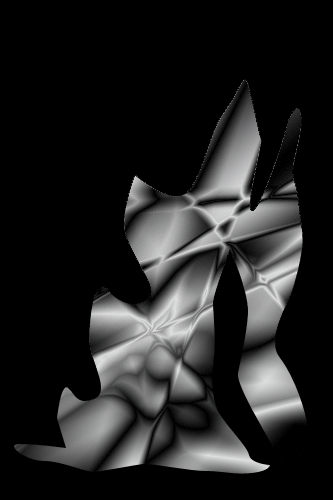
Make ripple this picture, go filter menu > Distort >
Ripple. Select size "Medium" and increase the amount "607%".

Now apply ZigZag filter, go Filter menu > Distort
> ZigZag. Change amount, ridges and style.
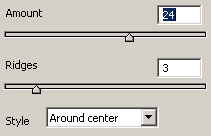
You get this picture.
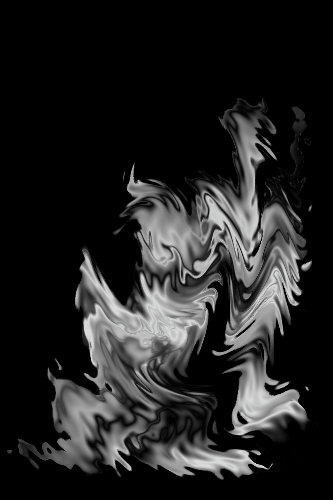
Now apply blur filter, go Filter menu > Blur >
Gaussian Blur and set Radius = "1.0". Take a new layer and fill
"#fe8200" color in the whole layer by Paint Bucket Tool (G key) and
change the blending mode "Normal" to "Color Burn".

This is the final engulfing flames effect.
Santosh Kumar
This is santosh kumar living in New Delhi (India) and love to work as a Web & Graphic Designing. I like to create sketch, background, illustration and vector graphics. Tutorialbunch.com is a very good place where I express my creativity.
|