|
Burnt Paper Effect
This is a burnt paper effect tutorial, you will learn how to create a burnt
effect on any object by help of this example. You can apply this technique on any paper and object to show burn, I will do it on a simple paper color background.
Open a new document and put right size value, select a
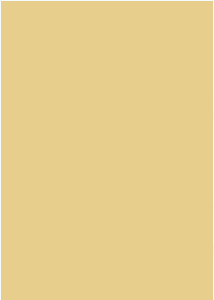
Rectangular Marquee Tool (M key) and draw a rectangle selection on the new layer, Select paint bucket tool (G key) and fill "#e7ce8c" color inside the selection.
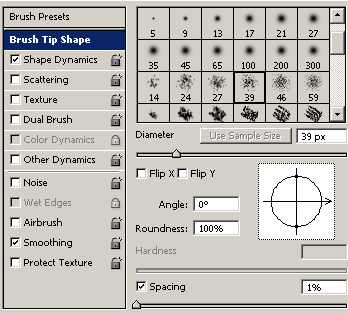
Make setting to get a different brush shape to apply on the paper. Select
Eraser Tool (E key) and press F5 key, a window will come on the screen and
select brush then make other settings.
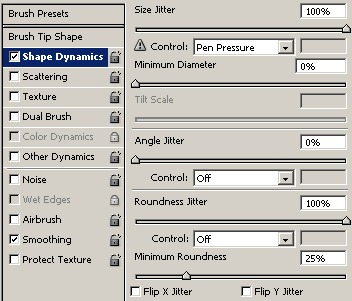
Still open brush window, we have to change another options so select
"Shape Dynamics" and adjust every slider on same position.
After done brush settings, look on the "Option Bar" (below menu bar)
and change opacity and flow.

Now your brush setting is completed and ready to apply on the paper, click on
the left top of the paper and drag mouse left side to right side with hold Shift
key. Do it on another paper side.
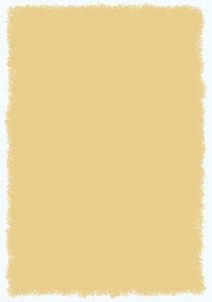
Select Burn Tool (O key) and apply on bank of the paper until you get this picture.
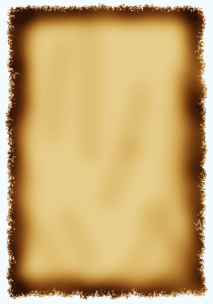
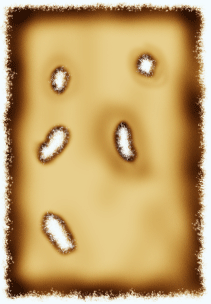
Now select again Brush tool with upper settings and erase some part inside
the paper, apply again Burn tool. Whatever type you get that is your final
result.
Santosh Kumar
This is santosh kumar living in New Delhi (India) and love to work as a Web & Graphic Designing. I like to create sketch, background, illustration and vector graphics. Tutorialbunch.com is a very good place where I express my creativity.
|