|
Rays Background Effect
Today, you are going to learn how to create a rays background effect in the Photoshop; it has been drawn by using filter effect, gradient color and blending mode. You can also create your own different type of background by help of these.
Start with a new document and set appropriate size, choose Foreground/Background color Black/White. Apply cloud effect on the whole document, take a new layer and go Filter menu > Render > Difference Clouds.

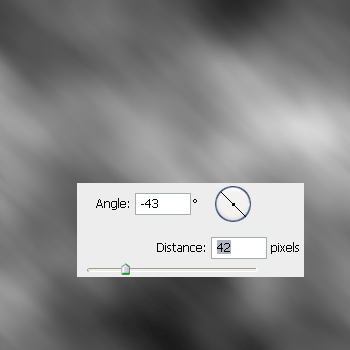
Still selected cloud layer apply motion blur to make clouds to motion mode, go Filter menu > Blur > Motion Blur and change the angle (-43) with distance (42px).
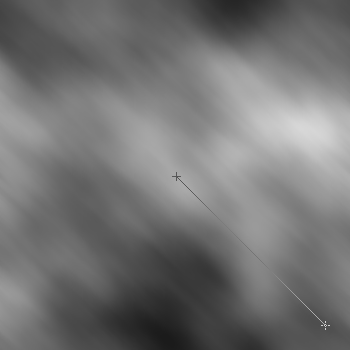
Take a new layer by pressing Ctrl + Shift + N key and select gradient Tool (G key), adjust gradient color and another settings. Click in the middle part of the document and pull down at Right bottom corner.

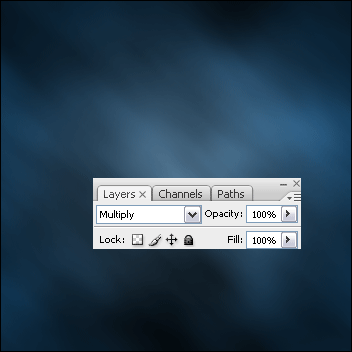
Now you have full Radial Gradient colored layer and make adjustment of the gradient by going to blending mode and change "Normal" to "Multiply".
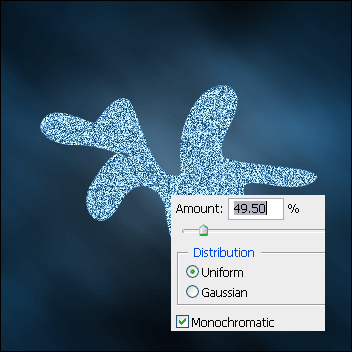
In this step I am going to draw a shape and apply noise effect, select Pen Tool (P key) and make a shape by some anchor point. go Filter menu > Noise > Add Noise. Adjust amount (49.50%) and select Distribution option.
Now you have to convert this shape to ripple mode, go Filter menu > Distort > Ripple and adjust amount and size.
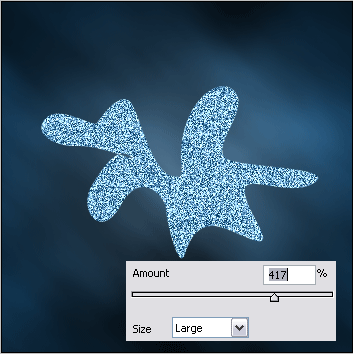
On the ripple shape apply "Radial Blur", go Filter menu > Blur > Radial Blur. Adjust all the settings and click on the "Blur Center" area then pull left side.
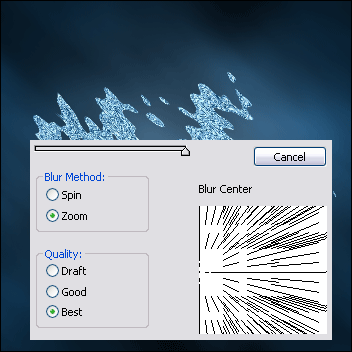
Now you have a Radial Blurred picture, it is like a sharp rays that is not suitable for this wallpaper so I am going to change blending mode "Normal" to "Vivid Light".
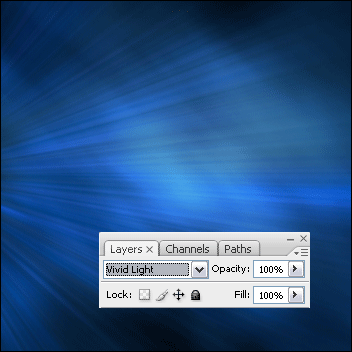
Take a new layer and apply same gradient color as done in the third step of this example but make sure the "Linear Gradient" should be selected then change Layer's blending mode "Normal" to "Multiply" that will be the final result.

Santosh Kumar
This is santosh kumar living in New Delhi (India) and love to work as a Web & Graphic Designing. I like to create sketch, background, illustration and vector graphics. Tutorialbunch.com is a very good place where I express my creativity.
|