|
Abstract Light Background
This example has step by step guidance to create an abstract light background in photoshop for the
use in the web site and your another project, you can also design a different light
background for use in the movie but you have to follow all the step as given in
the example.
Take a new file with appropriate size as required your project,
take a new layer and fill black color by using paint bucket tool (G
key).

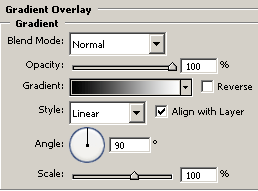
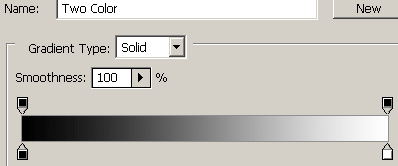
Still selected black color layer and apply gradient color, go Layer menu > Layer style > Gradient Overlay and choose black and white
color, adjust all the settings.
After applied gradient color, take a new layer and fill it with blue "#3856d7" color then change the blending mode of the layer
"Normal" to "Multiple", this picture will come out.

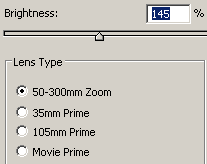
Now apply flare effect, go Filter menu > Render
> Lens Flare, select lens type and adjust the Brightness amount "145%".

Still selected layer apply ripple effect on the light, go Filter menu > Distort > Ripple, adjust the Size and amount.

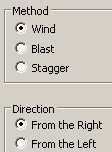
Apply wind effect, go Filter menu > Stylize >Wind, select method and Direction options. After done that press Ctrl + F key to
apply again same wind effect.
Now apply wave filter to make move lighting look, go Filter
menu > Distort > Wave and adjust all the values and select options.
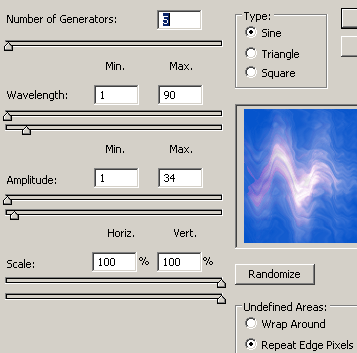
You get this picture.

You have a dark moving abstract light picture but it is not looking
attractive so let's give it some lighting, make duplicate layer and change the
blending mode "Normal" to "Overlay".

This is your final lighting abstract background.

Santosh Kumar
This is santosh kumar living in New Delhi (India) and love to work as a Web & Graphic Designing. I like to create sketch, background, illustration and vector graphics. Tutorialbunch.com is a very good place where I express my creativity.
|