|
Ball Loading Icon
You are going to learn about to design a ball loading icon, there is two balls walking on the circle path. You will learn more about custom shape, layer style and frame adjustment. It is not difficult tutorial; you can create it easily by following all these steps.
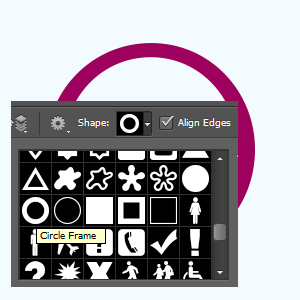
Take a new document, select Custom Shape tool (U key) and choose "circle frame" and create on the document. You have to adjust size according you requirement and color.
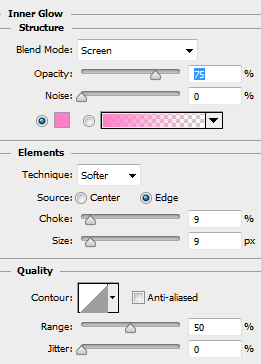
Let's make glow inside the ring, go to Layer menu > Layer style > and choose stroke and Inner Glow. Make all these setting and color of them.
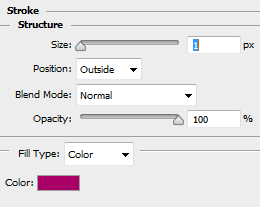
Now the ring is completed, select Ellipse Tool (U key) and draw a circle on the ring with any color.

Now I am going to apply some layer style to make glowing ball, go to Layer menu > Layer style and choose Bevel & Emboss, Inner Glow and stroke. I have given all these settings of Bevel, inner and stoke here.
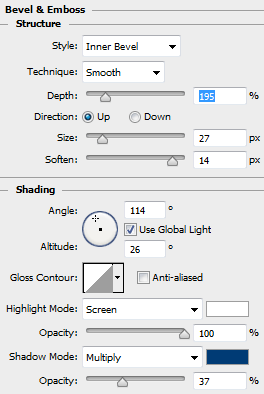
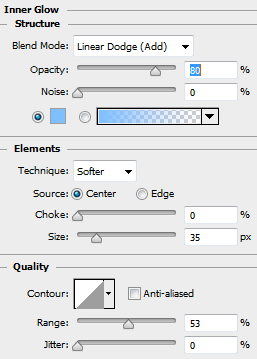
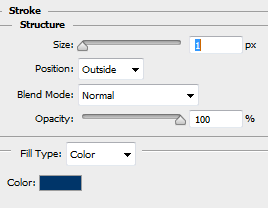
The ball is completed and make duplicate layer then move apposite side on the ring and right click to choose "Merge Shape". Now both balls are on the one layer so it can be moving on circle path.
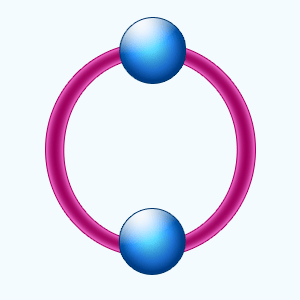
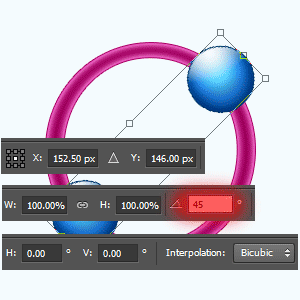
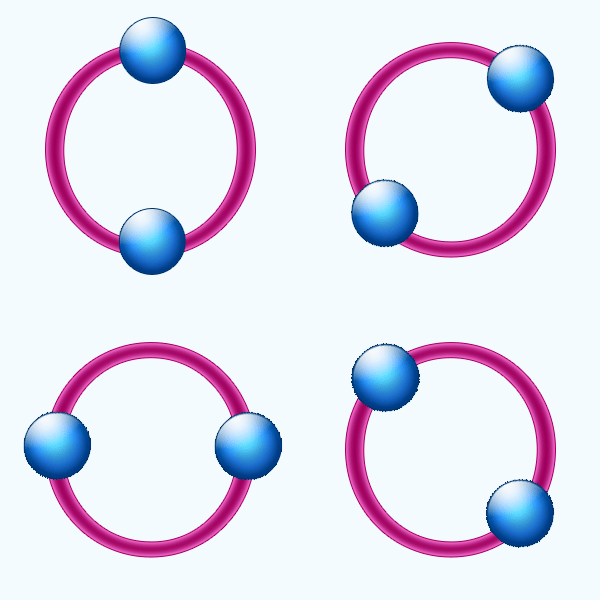
Select ball layer and press Ctrl + T key, come to optional bar and change the angle 45o. Make duplicate layer and change the angle again 45o, do it until the complete round of the ball.
Open animation window and show only one ball layer on separate frame to make complete animation.
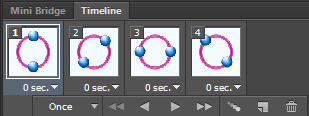
Final Result
Santosh Kumar
This is santosh kumar living in New Delhi (India) and love to work as a Web & Graphic Designing. I like to create sketch, background, illustration and vector graphics. Tutorialbunch.com is a very good place where I express my creativity.
|