|
Shampoo Bottle in Illustrator
Hi
I am here with a new tutorial that is a shampoo bottle tutorial in illustrator, I will teach you how to create it through this example step by step. I have tried to make it perfectly and it looking like 3d but it is not so follow and create yourself.
Take a new document and put size as you need, select Pen Tool (P key) and
make some anchor point on the document to look half bottle shape with fill
"#d9dee2" color as given here.
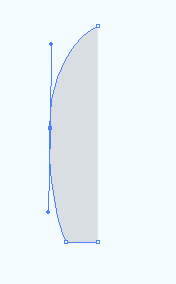
Make duplicate shape by hold Alt key and move by right arrow, right click on
the copied shape and go to Transform > Reflect. A winnow appear on the screen
and click on the "Vertical" radio button then change the angle 90o
on. Move rotated shape right side and select the both upper anchor point
then make join by press Ctrl + J key.

After done upper step you should have accurate bottle shape and you have to
apply mash on the shape, select Mash Tool (M key) and click on the bank of the
shape as done here..
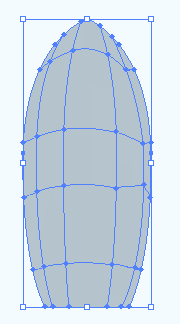
Select Direct Selection Tool (A key) and select some anchor points on top
left of the mash then apply fill "#EDF1F4" color as done below.
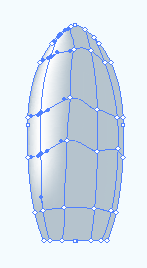
Do same step on right bottom of the shape with selected different fill color
that should be "#D7DEE2". The picture should be look like below.
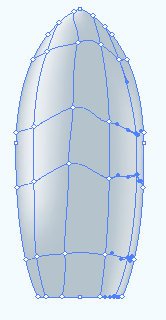
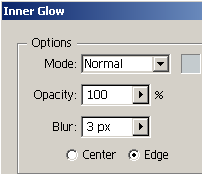
Apply glow inside the bottle by go to Filter menu > Stylize and select
Inner Glow, a window come on the screen and you have make adjustment as done
below picture.
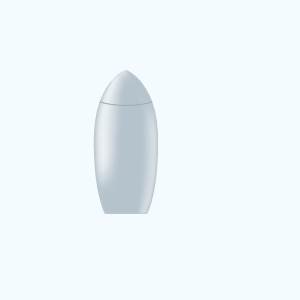
The bottle should be look like this.
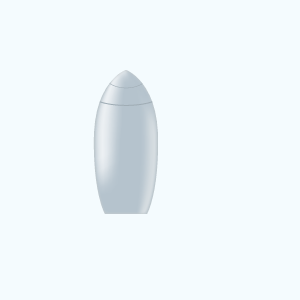
Now select Pen Tool (P key) and draw a line with blank fill color and stroke
color "#A0ADB5", hold Alt key and press any arrow key to make duplicate
line then change the Stroke Weight "0.5" and adjust the position as
done below picture.
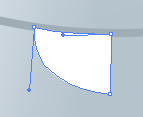
Select Pen Tool (P key) and make some anchor point with any color then make
duplicate shape and join them, select joined shape right click and choose "Transform"
then click "Reflect." option and make settings as done below pictures.
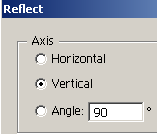
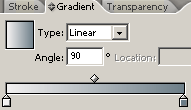
Now apply gradient color in the shape, select shape and click on the gradient
window (if the window is not on the screen, go to Window menu > Gradient) and
choose color as given here.
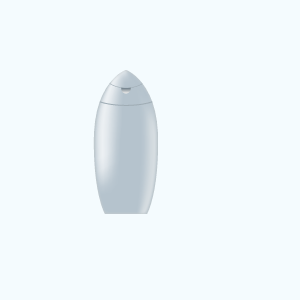
The bottle picture should be same here.
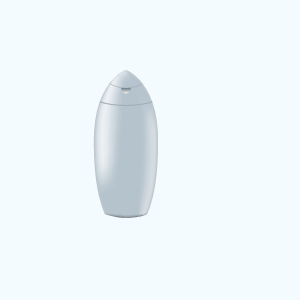
It is time to work on bottom of the bottle, select anchor points and modify
the position of them, now select all the bottom anchor points and apply
"Black" color as done below picture.

The bottle is completed.
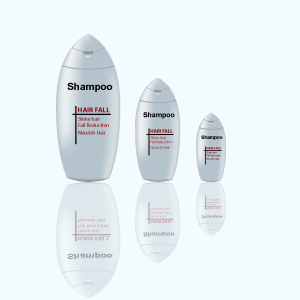
Now you have to type text and draw graphics as you want to show on the
bottle, select Type Tool (T key) and type text on the different formatting. Make
some copies of the bottle and reduce the size then group them. Make copy group
of the bottles and pull down then reduce the opacity in the "Transparency
Window". The picture is completed for the advertisement.
Santosh Kumar
This is santosh kumar living in New Delhi (India) and love to work as a Web & Graphic Designing. I like to create sketch, background, illustration and vector graphics. Tutorialbunch.com is a very good place where I express my creativity.
|