|
3d Wrap Ribbon
Hi Friends
We are going to learn how to create a vector red wrap ribbon in illustrator by this example; it has been drawn and wrapped like around the circle and using an easy and unique technique to make easily. It has been described with some simple steps these are given in this tutorial. We will learn more about 3D option of the illustrator and sure if you follow all these steps you can reach on the final result so let's start.
Start with a new document and adjust size as you required, select Rectangle Tool (M key) and draw a rectangle on the document. In the below pictue, I have mention color and rectangle size.
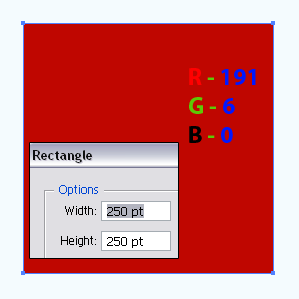
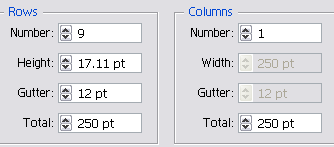
Now we have to convert rectangle shape to thick lines, follow this path (Object menu > Path > Split into Grid) and adjust all the settings as done below picture.
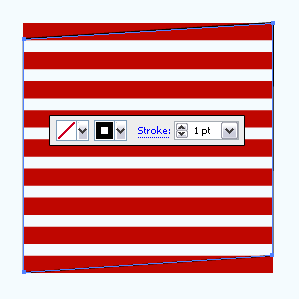
In this step, first block the Fill color and choose stroke color with "1pt". Select Rectangle Tool (M key) and draw a rectangle shape on the thick lines, select Direct Selection Tool (A key) and adjust the anchor points on the lines as done below picture.
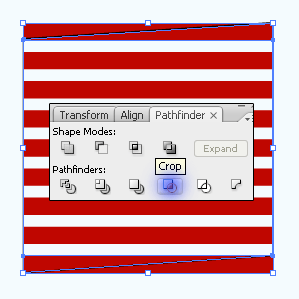
Select both thick lines and Rectangle border. Open Pathfinder Panel by following this path (Window menu > Pathfinder) and click on the "Crop" button. Now select and delete outer cut lines.
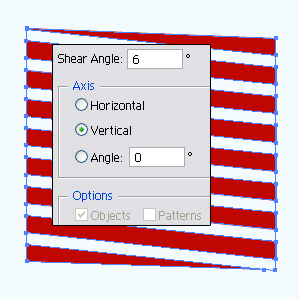
Still selected thick line right click and choose "Shear" option and then make settings in the opened window as here. Now make it symbol, press F8 key and make movie symbol.
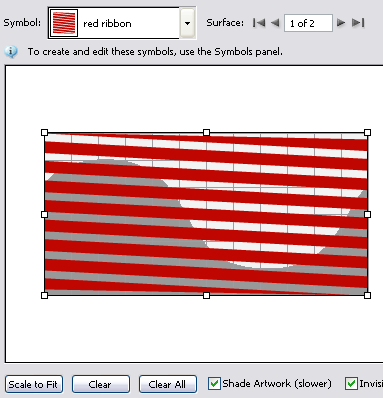
In this step draw any type of 3D shape, I have drawn a 3D boll. Follow this path (Effect menu > 3D > Revolve) and click on the "Map Art" button and then choose symbol and another settings as done below picture.
Final Result

Santosh Kumar
This is santosh kumar living in New Delhi (India) and love to work as a Web & Graphic Designing. I like to create sketch, background, illustration and vector graphics. Tutorialbunch.com is a very good place where I express my creativity.
|