|
Stone Texture
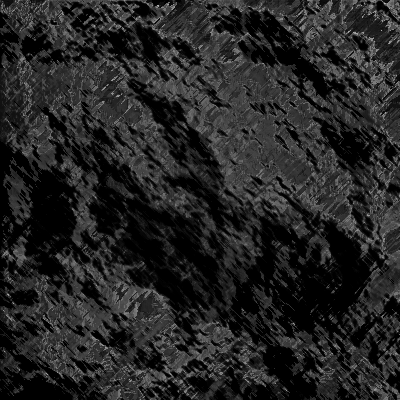
In this tutorial you will learn how to create a realistic stone texture effect in Photoshop cs6; it has been done by using a simple technique, some Photoshop filters, layer style and fewer steps. It can be use in the graphic project, texturing in the 3d module, it is not difficult to learn and draw you have to just follow these step and sure get final result.
First you take a new document with suitable size as you required, set the foreground and background color to achieve right effect. You can apply any color to get a different result as you need but I am going with same colors.

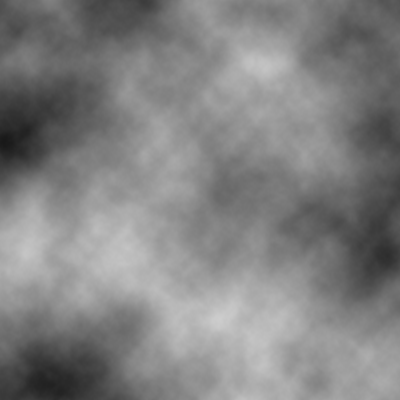
I am going to apply some cloudy effect on the document background, take a new layer and fill foreground color by Paint bucket tool (G key) then follow this path Filter menu > Render > Clouds.
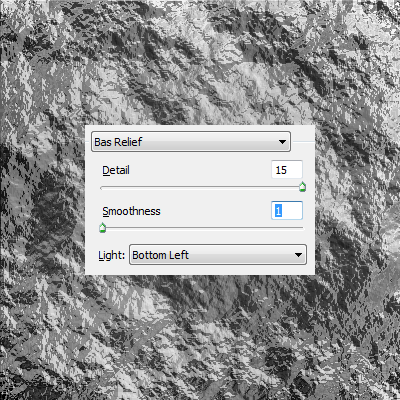
In this step I am using "Bas Relief" filter to apply stone effect, follow this path Filter menu > Filter Gallery > Sketch > Bas Relief. Adjust Detail "15" and Smoothness "1" then change light option "Bottom Left" to look better effect.
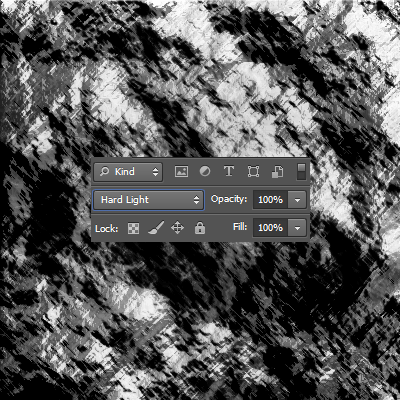
Now you have to apply some extra effort to make it more realistic look, still selected make duplicate layer by pressing (Ctrl + Shift + N) and change the blend mode "Normal" to "Hard Light". You would get same picture as below.
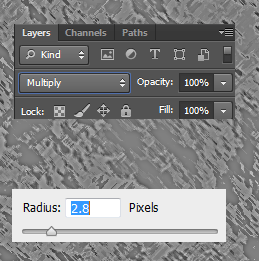
Apply one more filter to produce final touch of stone, make duplicate layer and follow this path Layer menu > Layer style > Other > High Pass. Put radius "2.8", you can adjust as you want sharpness on the effect. Now change the layer blend mode "Normal" to "Multiply" as done below picture.
This is the final result.
Santosh Kumar
This is santosh kumar living in New Delhi (India) and love to work as a Web & Graphic Designing. I like to create sketch, background, illustration and vector graphics. Tutorialbunch.com is a very good place where I express my creativity.
|