|
Colored Feather
This tutorial has a unique and different technique to create a colored feather,
I have describe the tutorial by the steps to create same as done by me. I am sure
you like and enjoy so start leering the technique.
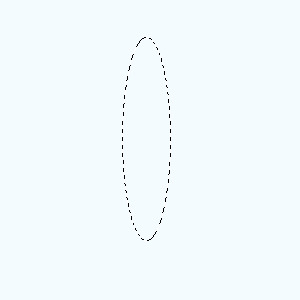
Start with new document with appropriate size of the project and select Elliptical
Marquee tool (M key) and make selection on new layer then fill any color in the
selection by the Paint Bucket Tool (G key).
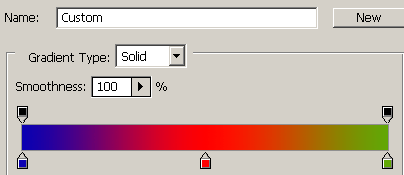
Now click on the "Add layer style" in the layer Platte and choose
Gradient Overlay option then choose three color on deferent position to apply on
the drawn shape as done below.
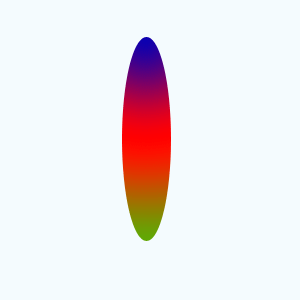
This is a gradient colored shape.
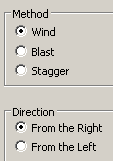
Apply wind effect on the shape by following this path (Filter menu >
Stylize > Wind ), a window will appear on screen and select option as given
below picture.
Your would have a wind effected picture, now make duplicate layer and change
the blending mode of the layer "Normal" to "Color Burn" as
given below picture.

The picture will look like this.
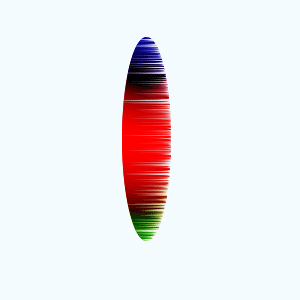
Now you have to modify the size of the feather so press Ctrl + T key and
right click then choose "Warp" option and make adjustment by the
anchor point as given below.
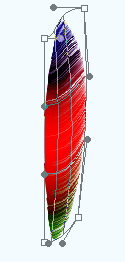
Make duplicate layer and press Ctrl + T key and right click then choose
"Flip Horizontal" and set apposite site to look like feather.
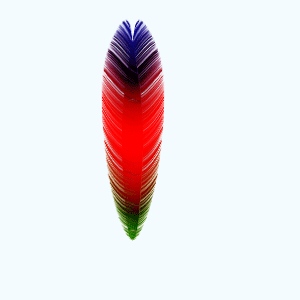
Select Pen tool (P key) and draw a shape between the feather like thick line
with selected "#bebebe" color.
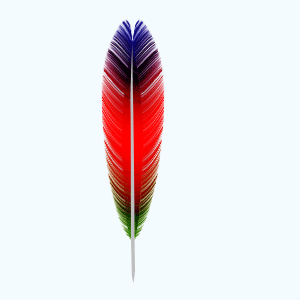
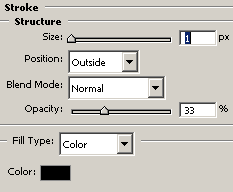
Apply stroke on the shape, click on "Add layer Style" in the layer Platte
and choose Stroke option then adjust the settings and change the blending
mode of the layer "Normal" to "Linear Light".
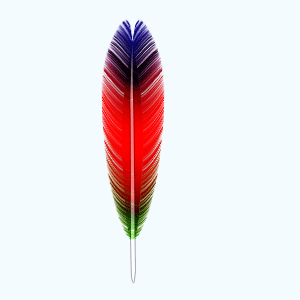
This is the final result of the feather.
Santosh Kumar
This is santosh kumar living in New Delhi (India) and love to work as a Web & Graphic Designing. I like to create sketch, background, illustration and vector graphics. Tutorialbunch.com is a very good place where I express my creativity.
|