|
Dotted Gradient Circle Loader Icon
We have very interesting tutorial that is dotted gradient circle loader icon in photoshop, we will teach
you a method to create this dot rounding loading icon animation. It is very easy now
because we have described the method by the simple steps those are in this
example, you have to follow them and learn.
Start with a new document and set the size as your project required, fill
any background color as you like. Select a Ellipse Tool (U key) and draw circle
with black color.
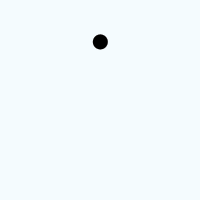
Now you have to make copy, hold "Alt" key and press down arrow then
release "Alt" key and move by down arrow like this.

Select both circle layers, drag and drop on the "New Layer"
button in the layer palette. Still selected both layer press Ctrl + T key and
right click. Choose Rotate "90o" option, you should have this
picture.
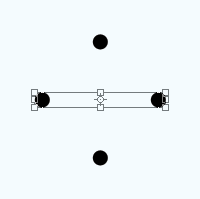
Make again both circles copy by using upper step. Press Ctrl + T key and rotate by the mouse as this
picture.
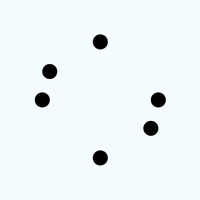
Apply same step until the exact circle of dots, you should have more dot layer and you need to make them merged.

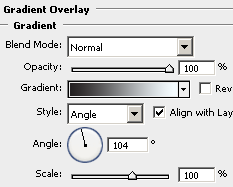
Select a Ellipse Tool (U key) and draw a circle over the doted circle on the new layer. Apply gradient color, go Layer menu > Layer style > Gradient Overlay. Choose colors on the slider and adjust the position with angle.
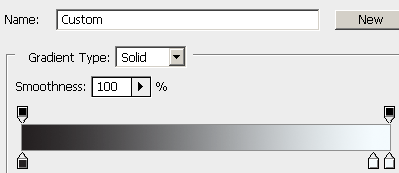
Now press Ctrl + Alt + G key to apply clipping mask, the logo should be look same.

Make copy of the "Clipping Mask Circle" by the right click on the
layer then choose "Duplicate Layer". You have to change the gradient
angle, go Layer menu > Layer style >
Gradient Overlay and adjust angle only.

You get this.

Use upper same step to make more copy and change the angle until the complete
round, adjust them in the animation window (Window menu > Animation) on separate
frame.

The Google loading icon is completed.

Santosh Kumar
This is santosh kumar living in New Delhi (India) and love to work as a Web & Graphic Designing. I like to create sketch, background, illustration and vector graphics. Tutorialbunch.com is a very good place where I express my creativity.
|