|
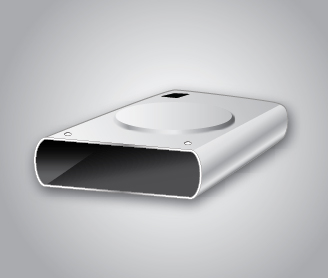
Drive Icon
I am going to teach you how to create a drive icon in illustrator through this tutorial; It can be used in the web and software developing project. I have tried to make it easy with some simple step and described every step clearly.
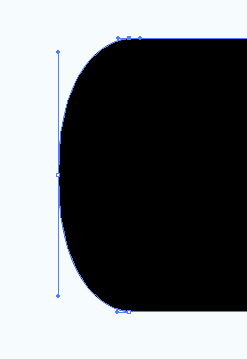
Start with a new document and draw a Rectangle shape with black any color by using Rectangle Tool (M key). Select Pen Tool (P key) and add an anchor point in the middle, pull left side and modify another anchor points then apply same on right side.
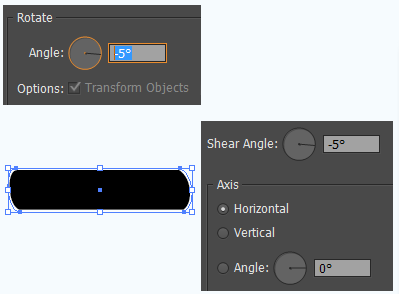
Now apply stroke of 1px with white color and right click > Transform > Shear then put " -5o ". Right click again > Transform > Rotate and change the angle "-5o".
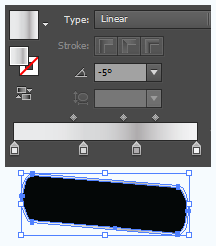
Make expand by go to Object menu and choose Expand option then make ungroup by right click, make sure it has stroke 0.25px with "#636363" color. Select stroke and apply gradient color by using Ctrl + F9 key with different angle.
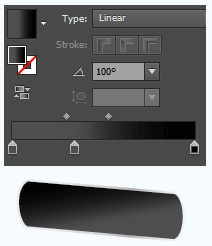
Now apply gradient effect, open gradient panel and apply different color on separate slider then change the angle of color effect "100o", the inside shadow is completed.
Select rounded rectangle shape and make duplicate by pressing Ctrl + C, Ctrl + F. Select Pen Tool and draw triangle shape on the left side, select both shape and click on the option as showing by orange spot in the pathfinder panel. Apply same gradient color as rounded rectangle shape with change angle "0o" as done up.
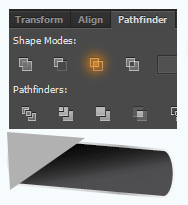
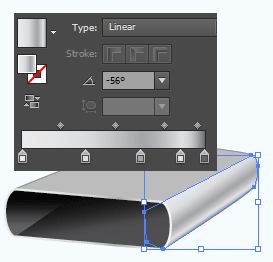
Select Pen Tool and draw a box model with touch of rounded rectangle shape, it should have any fill color but make sure stroke color is "#939292". Now you have to cut little part on the right side yourself, I have done it upper step. Open Gradient Panel and apply different color by the slider and change the angle.
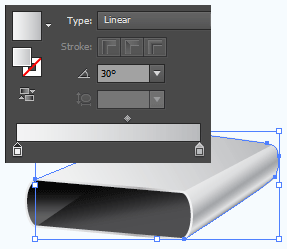
Now I am going to apply lighting effect on the top of the box, select box model and open gradient panel, choose different color on the sliders and change angle "30o".
Select Ellipse Tool (L key) and draw oval shape on the top of the box with block stroke color then apply same box gradient as done up. Still selected make duplicate and pull down a little bit with increased size then go to Filter menu > Blur > Gaussian Blur and put "2.5" value.
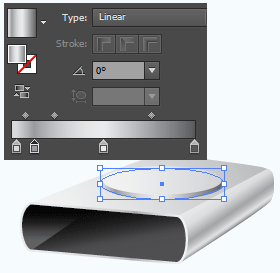
It is your effort to draw three spot on the box and shadow that is the final result.
Santosh Kumar
This is santosh kumar living in New Delhi (India) and love to work as a Web & Graphic Designing. I like to create sketch, background, illustration and vector graphics. Tutorialbunch.com is a very good place where I express my creativity.
|