|
3d Text Logo
Hi Friends
This is a 3D text logo design tutorial in illustrator, you will learn a simple and different technique to make it. If you are looking for 3D text as a logo, this example is helpful for you. Follow now to create your own 3D text logo for the company.
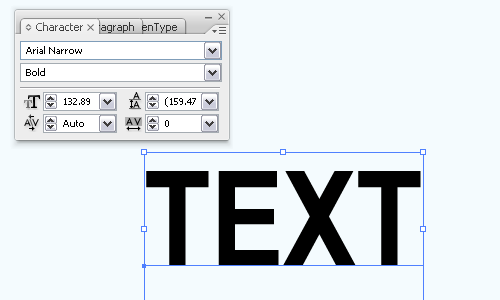
Take a new document with appropriate size as you required, select Text Tool (T key) and type any text on the docuemnt. After written text press (Ctrl + T) and make text formatting as you like.
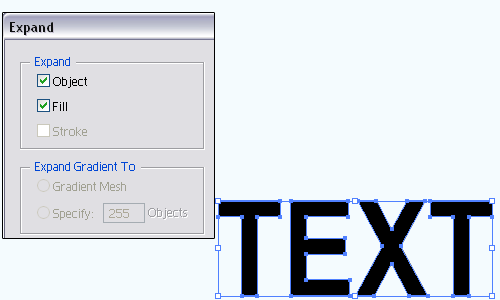
Now you have to make modification inside text and place, select text and go to Object menu > Expand. A window come on the screen make sure the "Object" and "Fill" option is selected.
The text is grouped so first ungroup all by right click on the text and choose "Ungroup" option. Select "T" Alfhabat and increase the size by the help of Free Transform Tool (E key) then adjust the postion, Select Text tool again and type "3D" and apply same step as done up.

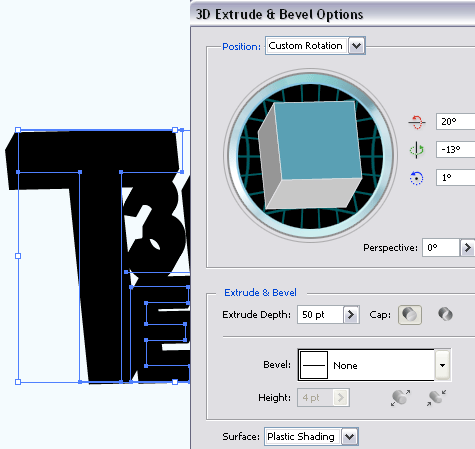
It is a time to apply 3D effect on the text, select all the alphabat and make them group by pressing (Ctrl + G). Follow this path (Effect menu > 3D > Extrude & Bevel) and make settings as done below pictue.
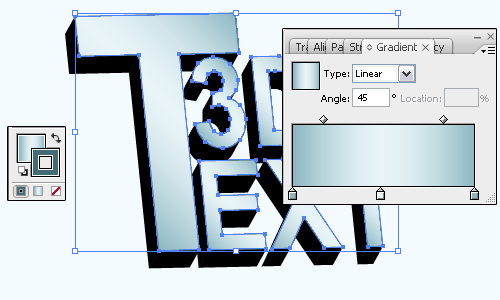
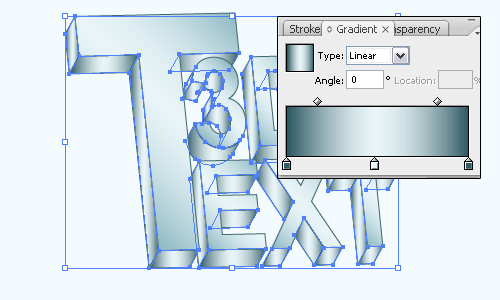
First make ungroup by right click and choose "Ungroup" option, select Direct Selection Tool (A key) and select upper part of the text then open Gradient Panel (Ctrl + F9) put color on the sliders and stroke color.
Note: You can apply any colors in the gradient panel as you like and required.
Come to rest part of the 3D text to modify, select black areas by the Direct Selection Tool (A key) and make group them by pressing (Ctrl + G). Open Gradient Panel (Ctrl + F9) and put colors on the sliders in as done below..
Note: You can apply any colors in the gradient panel as you like and required.
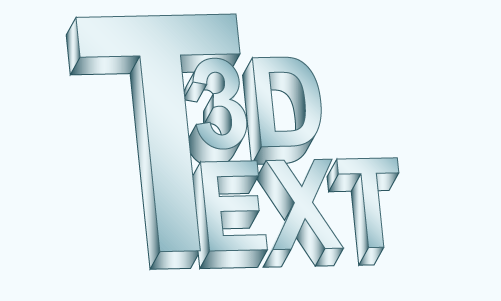
3D text logo is completed.
Santosh Kumar
This is santosh kumar living in New Delhi (India) and love to work as a Web & Graphic Designing. I like to create sketch, background, illustration and vector graphics. Tutorialbunch.com is a very good place where I express my creativity.
|