|
3d Wood Guitar
Hi friend
I am back here with a new tutorial that is 3d wood guitar and so interested to teach you
my experience during creating guitar by this example, it has complete
steps those are helpful and sure you can also draw guitar by using them so follow
now.
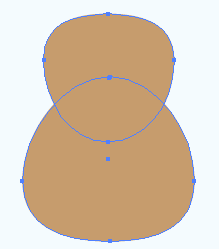
Take a new document with any size as you like, select Ellipse Tool (L key)
and draw a circle on the document with "#c69c6d" color. select top and
bottom anchor point of the circle by the Direct Selection Tool (A key) then move
up by the up arrow.

Make duplicate shape and decrease the size then right click and choose
"Rotate" option, a window will come on the screen put value 180 and
make them align vertical center. After align make them join by click on "Add to Shape Area"
button in the pathfinder window.
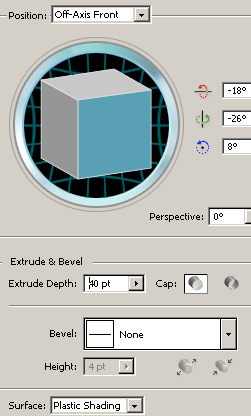
Now you have to make it 3D so follow this path (Effect menu >
3D > Extrude
and Bevel), make all the adjustment as done below picture.
The guitar should look like this.
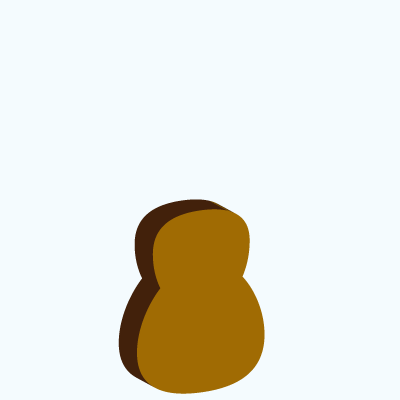
Now expend picture by following this path (Object menu > Expend Appearance)
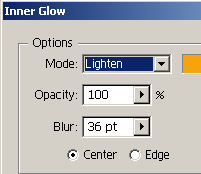
and apply glow inside the guitar by following this path (Effect menu >
Stylize > Inner Glow) then make adjustment of the color and another settings.
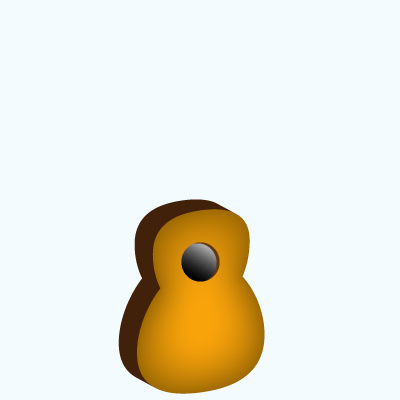
Now draw a circle by Ellipse tool (L key) in the middle top of the guitar
with "#603813" color and press Ctrl + C + F then make duplicate circle
with changed "Gradient Color" and move a bit left side. Select both circle and click on the
"Intersect Shape Areas" button in the pathfinder window.

The guitar should be look like this.
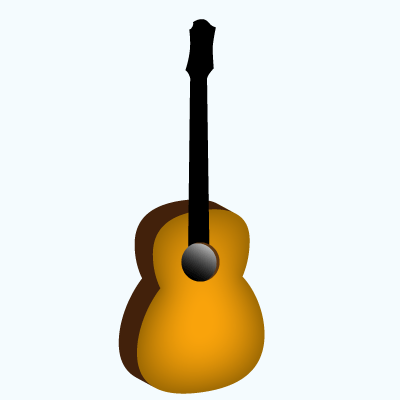
Select Pen Tool (P key) draw a shape like guitar hand with black color and
adjust the position as done below.
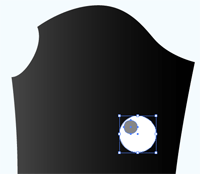
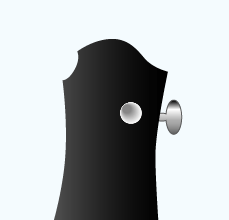
Come on top of the guitar hand and draw two circle by Ellipse Tool (L key)
with different color then select both and apply Blend Tool (W key).
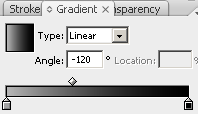
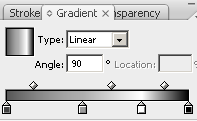
Select Pen Tool (P key) again and draw a shape then apply gradient color
as given below pictures.
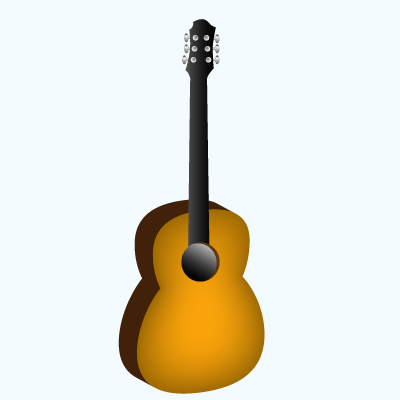
Select Both shape and make more copy and paste then adjust the position of
them as done below.
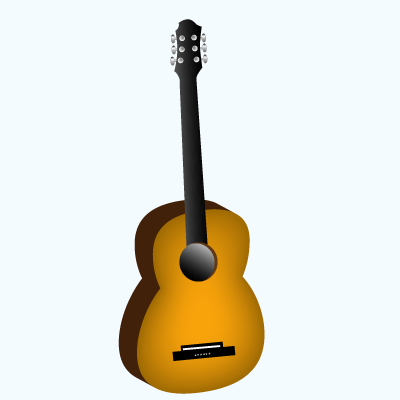
Select Rectangular Tool (M key) and draw rectangle shape with different
colors and position as done in the bottom of the guitar picture.
Draw some line on the guitar hand and make same distance
each, select all of
them with Shift key and make them group by pressing Ctrl + G key. Select guitar
hand and press Ctrl + C + F to make copy on, select copied hand and group lines
then click on the "Intersect Shape Areas" in the pathfinder window.
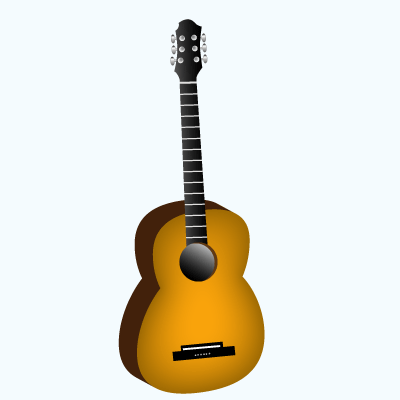
Select Pen Tool (P key) draw six line with stroke "0.5" but make
sure the fill color should not call with line. You have to draw line and adjust their
position with carefully as done below.
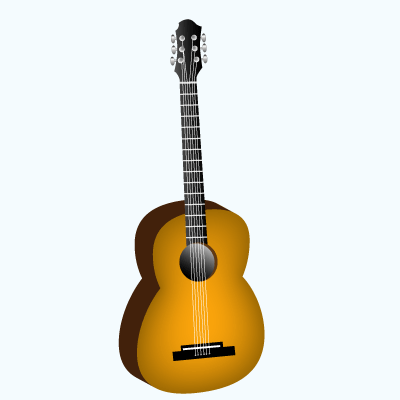
It is time to apply a wood look in the guitar box, select
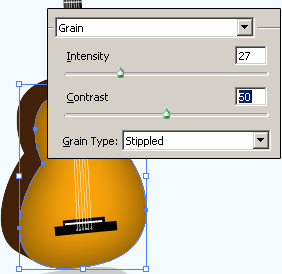
guitar and make duplicate shape by pressing Ctrl + F key then apply grain filter
by following this path (Effect menu > Texture > Grain), adjust the value
and choose type "Stippled" as done here.
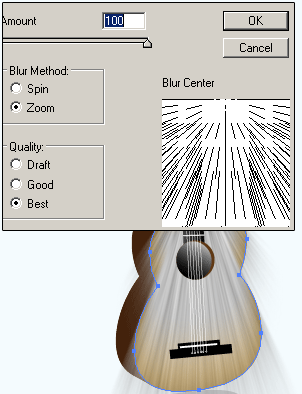
Still grain shape apply radial blur by following this path
(Effect menu > Blur > Radial Blur), choose option and put amount
"100" then adjust the blur position by the mouse, after done press
ctrl + F key to apply same blur effect again.
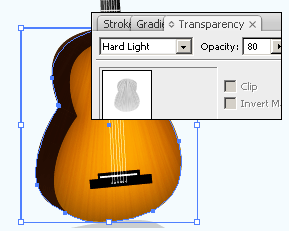
Now make settings in the transparency window, change the
blending mode "Normal" to "Hard Light" and reduce the
opacity as done below picture.
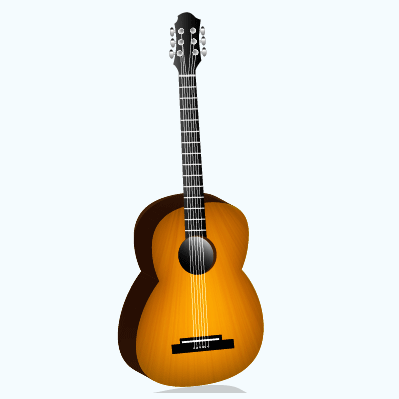
The final guitar picture is here, use it and enjoy.
Santosh Kumar
This is santosh kumar living in New Delhi (India) and love to work as a Web & Graphic Designing. I like to create sketch, background, illustration and vector graphics. Tutorialbunch.com is a very good place where I express my creativity.
|